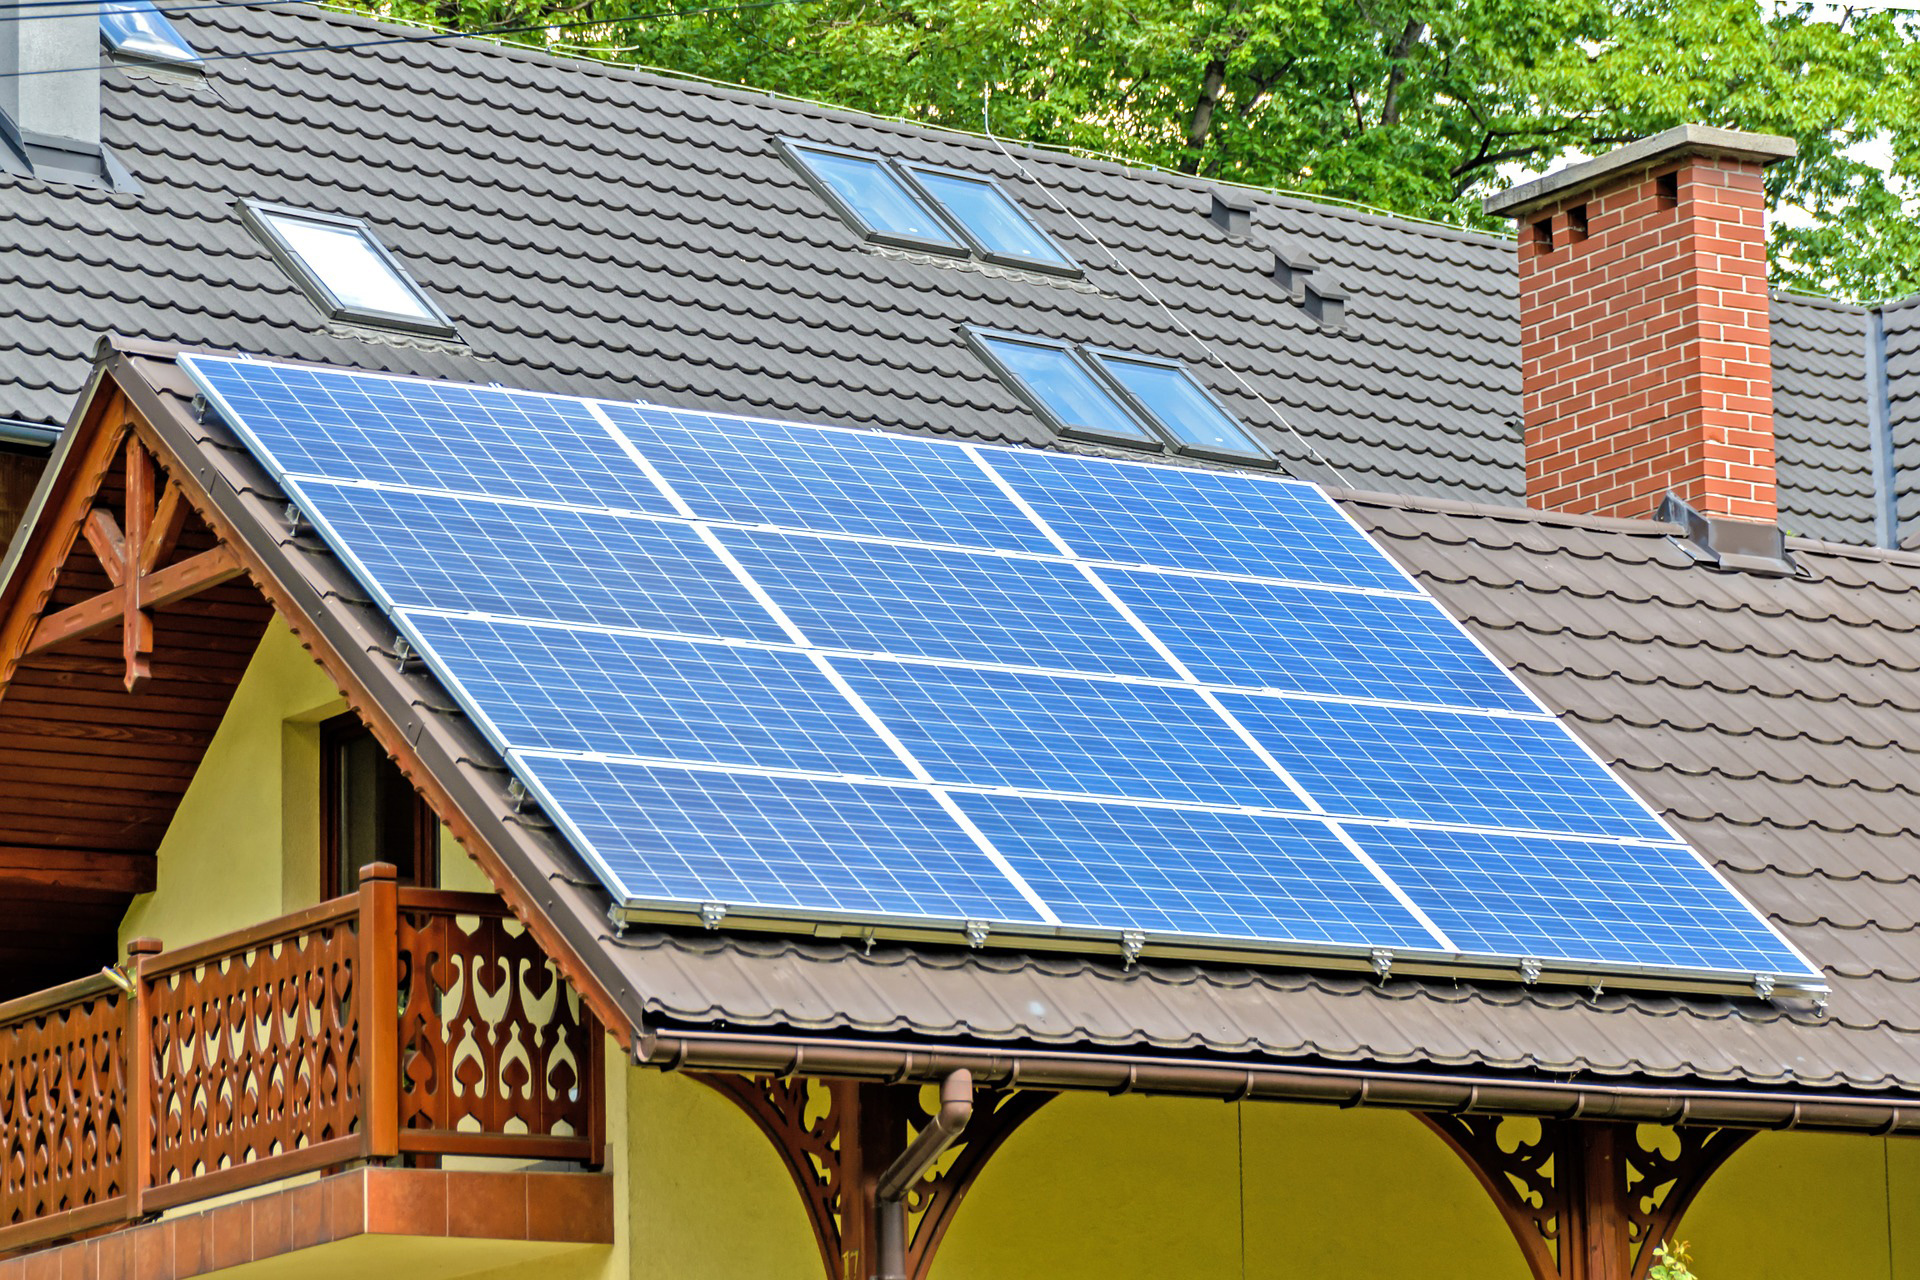
What's included in a complete installation
A complete solar panel installation involves significantly more than mounting panels to a roof. Here's the full scope of work we handle on every job:
- Structural engineering review, confirming your roof can support the additional load (panels and racking together typically add 3 to 5 pounds per square foot)
- Electrical service review, confirming your main service panel has capacity for the solar tie-in, or planning a panel upgrade if it doesn't
- City permit application, drawing up the plan set, submitting to the building department, and revising if comments come back
- Roof preparation, installing flashing-sealed roof attachments, verifying weatherproofing before racking goes on
- Racking installation, code-compliant rail systems sized for local wind and seismic loads
- Panel installation, physically mounting and securing the modules to the racking
- Microinverter wiring, running AC trunk cable, branch wiring, and DC connections between panels and inverters
- Service panel tie-in, wiring the system into your home's electrical service, installing the production meter
- Battery installation (if applicable), mounting, wiring, and configuring storage hardware
- Permit inspections, scheduling and accompanying city inspectors through electrical and final inspections
- Utility interconnection, submitting PG&E, SCE, or SMUD interconnection paperwork and coordinating the final meter swap
- Commissioning & monitoring setup, verifying production, setting up the Enphase monitoring app on your phone, walking you through the system
None of these steps are billed separately. Everything is included in the quoted system price. The full residential installation process is documented by the Department of Energy's solar homeowner guide.
Realistic project timeline
From signed contract to powered-on system, expect 6 to 10 weeks total. The actual installation on your roof is 1 to 2 days. The other 5 to 9 weeks are split between permitting and utility interconnection paperwork, both of which have minimum turnaround times we can't compress.
Typical timeline:
- Days 1-7: Final system design completed after assessment, structural engineering review, plan set drawn up
- Days 7-21: Permit application submitted to building department, permit approval issued
- Days 21-28: Utility interconnection application submitted, project queue assigned
- Days 28-35: Installation scheduled, hardware ordered to site
- Days 35-37: Physical installation (1-2 days on roof)
- Days 37-45: Electrical inspection scheduled and completed, final building inspection
- Days 45-70: Utility interconnection approval, net billing activation, system goes live
Permits and inspections
Every solar installation in California requires both a city/county building permit and (for grid-tied systems) utility interconnection approval. The building permit covers structural and electrical code compliance under the California Building Standards Code. Most California jurisdictions follow the same base code with local amendments.
The permit process generally involves submitting a plan set (structural drawings, electrical single-line diagram, site plan), the building department reviewing it for code compliance, and final inspections after installation. Plan set turnaround varies widely by jurisdiction, some cities issue same-day permits for solar under SB 379 streamlining; others take 2 to 3 weeks. We handle all submissions and any code comments that come back.
Inspections happen after installation: typically an electrical rough-in inspection (if there's wall work involved), a final electrical inspection of the solar system itself, and a final building inspection. The inspector verifies that what was built matches the approved plan set and meets NEC code requirements.
Utility interconnection
After your system passes final building inspection, the utility (PG&E, SCE, SMUD, etc.) has to approve interconnection before you can legally produce power and feed it back to the grid. This involves a separate application process administered through the CPUC NEM program.
The utility's process generally includes: reviewing the system specifications, sometimes performing a distribution circuit impact study, approving the interconnection, swapping your meter to a bidirectional model that measures both consumption and generation, and activating your account under the appropriate rate schedule (NEM 3.0 for PG&E and SCE, SMUD's own program for Sacramento). Each utility has different timelines, but most residential interconnections complete within 3 to 4 weeks after submission.
We submit and track all utility paperwork. You don't need to interact with the utility directly during this process, we'll let you know when meter swap is scheduled and when net billing is officially active.
Warranties on the installation
Different components carry different warranty terms:
- Qcells panels: 25-year linear performance warranty, 25-year product warranty
- Enphase IQ8HC microinverters: 25-year manufacturer warranty
- Enphase IQ Batteries: 15-year warranty, 6,000 cycles
- Racking system: 25-year manufacturer warranty
- Installation workmanship: 10-year warranty from us on the install itself (roof penetrations, mounting, wiring connections)
- Production guarantee: If the system underperforms our design forecast by more than 10% in a given year, we make it right
Translation: if anything fails during normal use or underperforms expectations, it's covered. Manufacturer warranty claims are handled directly through Qcells or Enphase; workmanship warranty claims come through us. The EnergyStar photovoltaic system overview describes the typical warranty structure in more detail.